Pages

January 2, 2015

Five Friday Favorites - January 2nd Edition


I read a lot of blogs throughout the week (related to crafting, scrapbooking, cooking, even some that I categorize as "guilty pleasures") and I love gathering ideas for future projects and recipes via my feedly reader.  Here are some fun things I've been keeping my eye on this past week!
  1. I'm planning on doing Project Life (for real this time...yeah) this year and think these free printable calendars might make for some fun filler cards once a month. [via]
  2. I hope to get back into the swing of knitting/crocheting things soon, and thought this Audrey hat would be a quick, classic piece that would get a lot of use over the coming months.
  3. As I packed up my craftroom (and am slowly unpacking it), I realized that I had a decent stash of jewelry making supplies and tools, so I hope I can explore making some of my own jewelry in 2015.  This Anthropologie knock-off knot necklace DIY seems like a fun, fast project. [via]
  4. Jason and I have this thing for Trader Joe's Thai Lime & Chili Cashews - we buy a bag and it disappears in about 10 minutes, plus or minus a minute.  I'm going to try my hand at this recipe for Spicy Fried Mixed Nuts and see if we can keep those around any longer...[via]
  5. Club Scrap had their monthly blog hop showcasing the Reunion collection this week, and I'm still working my way through it - there are too many great projects, I can't handle it!
Hope you all have a wonderful weekend and have time to make something fun!

January 1, 2015

OLW 2015 - Explore

Watercolor Lettering by Livy Long via Pinterest

It's a new year and the proverbial resolutions have tagged along with it!  Every January I feel like this is the year that I will change everything and be that person who is physically fit, eats exactly the right things, reads 100 books in a year, knits 20 sweaters, sends cards for everyone's birthdays/anniversaries/holidays, and scraps the past 30 years worth of photos by March

So not happening this year.

I am in a fantastic position where I have just moved to another state and I feel like I can leave bad habits behind and start good habits here, but I also have to be realistic and make sure I'm not biting more off than I can chew.

This is where (I hope) One Little Word comes in.

My word for 2015 is Explore, and while this word may not seem like it will inspire year-long improvements in habits, I think this will really help me stick to my goals in 2015.

Digital Print by Ana Vicki via Pinterest

In 2015, I want to explore:

  • My new hometown
  • New areas for hiking
  • The history of my new area
  • My creative side (more)
  • My relationships with my boyfriend, friends, and family more deeply
  • What it's like to live a more frugal life
  • My love for reading (that seems to have slipped by the wayside)
  • My career and where it can take me

I hope and expect more areas of exploration will come up over the year, and I'm very excited to take my own one little word to heart and see how it impacts my life in 2015.  I will be sharing the results from my explorations here (which hopefully means I will be updating more regularly!  Fingers crossed.)

Here's to exploring 2015!

Print by Opus and Verse via Pinterest

October 29, 2014

Club Scrap Blog Hop - Homestead

 photo 1014_bloghopbadge_zpsb3b409af.jpg

Why hello!  Welcome to the Homestead blog hop! This month we're using Club Scrap's Homestead collection.  I'm going to show you how I used the monthly Assembly Line Scrapbooking instructions to make a quick and fun page!

If you traveled here from Lisa's blog, then you are following the hop!  If you've lost your way or just want to see all the links in one place, head over to the Club Scrap blog to see a list of all the talented bloggers participating today.

Life is getting ever so busy, and it's just going to get busier as we get closer to the holiday season, so I decided I needed to do something quick and easy this month.  I turned to Club Scrap's trusty Assembly Line instructions to make a page.  I made 4 2-page layouts, in fact, following the instructions included as part of my Lite kit, but have only completely finished one 2-page layout with photos, embellishments, and journalling.


What I like most about ALSB is that the "theme" of the kit doesn't necessarily need to match up with your photos.  I tend to base my photos choices on the colors and mood of the pages I've pre-made using the ALSB instructions.  While this kit would be great to use to document a day out in the country, I used the prominent oranges to bring out the colors in my sunset photos from an evening at the harbor in Auckland, New Zealand.  Country life, meet city life!


I love all of the details the instructions encourage you to add, such as the stenciling along the top of the left page and the stencils around the journaling box.  You don't have to be clever since Club Scrap does that for you already!  The pre-printed wording on these pages even ended up working for my photos, as we joked that this giant and expensive yacht was my friend's new and humble home...


I didn't end up buying the stamps this month (even though they are oh so cute!  On my wish list!) but I did the second best thing and printed out the images that are sent as a link to members each month and used my stencil to enhance those as well.  Another added bonus of being a member - free printables are included each month!


So just a simple page for me this month, but sometimes that's all you need - to get your pictures in a scrapbook and journal about your adventures before you forget about them!

Thank you all for stopping by and I hope you have a chance to get out your ALSB pages and get some scrapping done before things get too crazy for you too!

Now head on over to Annette Dragon's to see what she has to show you this month.  Come back next month when we're relaxing with the Lakes collection!


August 27, 2014

Club Scrap Blog Hop - Cinema

0814 Hop Badge photo 0814_BlogHop_badge_zps151630b6.jpg

Hi there friend!  Welcome to the Cinema blog hop! This month we're using Club Scrap's Cinema collection.  I'm going to show you how I created an interactive and cute gift card holder.

If you traveled here from Lisa's blog, then you are following the hop!  If you've lost your way or just want to see all the links in one place, head over to the Club Scrap Creates blog to see a list of all the talented bloggers participating today.

I had already decided what I wanted to make before creating a mood board for this month's kit, but I went ahead and lurked around Pinterest anyways and found some good ideas for future Cinema layouts, cards, and projects:


Follow Marya Kaszubinski's board Cinema Mood Board - Club Scrap August 2014 on Pinterest.

I had a kit to make slider cards lying around in my craft room, so I used those as a template to create this gift card holder:


I'll take you step by step on how to create this fun, interactive card!  Grab a cup of coffee and someone to give you a back rub while you read - it might take a little while ;)  (In a hurry?  Jump over to the next blog on the hop and stop by again later.)

First, here is a diagram showing the basic cuts and folds needed to make this card:


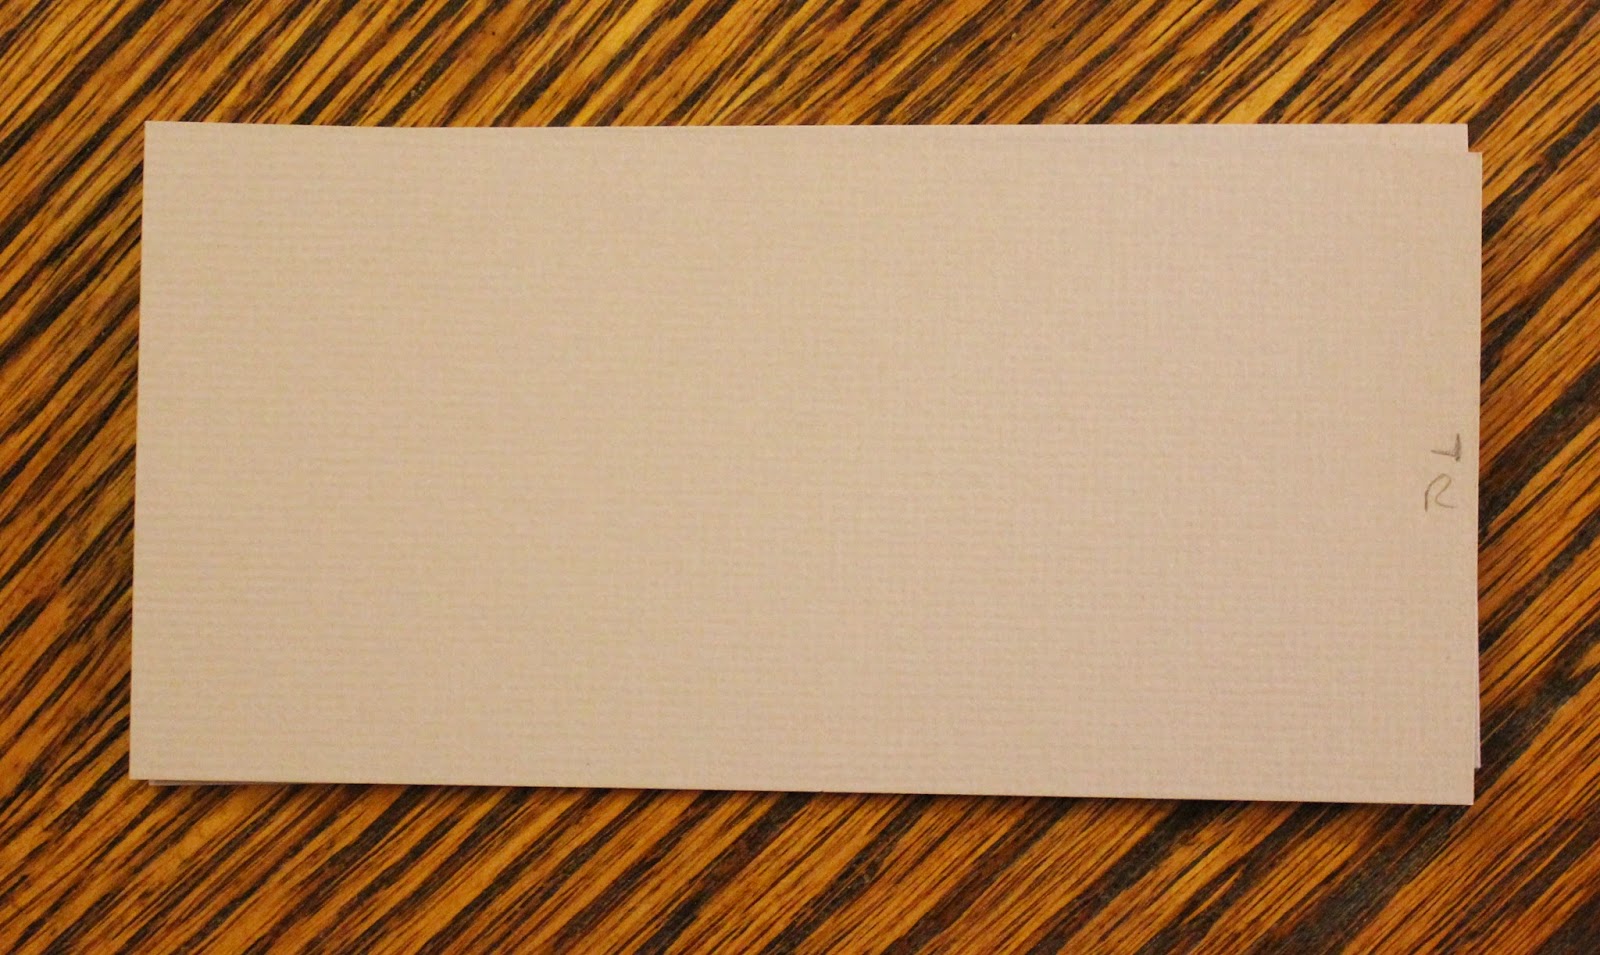
Begin with a 6 inch by 12 inch piece of cardstock.  Place it horizontally on your score board and score at 2 7/8", 3 1/4", 6 1/8", 6 1/2", and 9 3/8".

Once your score marks are in place, you will make a few simple cuts.  On the section after your last score mark (the one placed at 9 3/8"), draw a line 1/2 inch away from the edges down to the score line.  You will first make a diagonal cut from the outside edge of the score line up to the penciled in line, then continue to cut to the end of the paper.  (See diagram for clarification.)  Do this on both short sides of this panel.

You will also make notches along one edge of this piece.  I used the Envelope Punch Board to make my notches, but you could also use a circle punch and create semi-circles for a notch instead.

If you are using the Envelope Punch Board, you will turn your paper horizontally so the cut panel is pointing to the left, and you will line up the left score line at the 1/2 inch mark, then punch.  Do this on all three remaining panels.  (You do not need to punch a notch on the cut panel.)

Now, for the slightly tricky part - making the sliding component of the card.  You will need a piece of flexible plastic - I cut a piece of the plastic bag that the Club Scrap paper comes in, but I've seen these types of cards using strips cut from plastic grocery bags as well.  Use what you have on hand!

You will need to cut a 1 1/2 by 11 1/2 inch strip of plastic and you will fold this in half and adhere into a loop that is now 1 1/2 by 5 1/4 inches in length.

Finally, you will need two additional panels of cardstock cut to 5 5/8 by 2 3/4 inches - these will be the panels that slide in and out of the card.

Here are all of the components of the card laid out:


Prior to constructing the card, you may want to decorate your sliding panels.  I used the stencil from this kit to create a background on the left panel, and added some photo corners to hold the movie gift card I'm keeping in this card.  I also stamped a "Happy Birthday" sentiment from Club Scrap's Tribal collection on the right panel, decorated it with the Cinema washi tape, and added some of the ribbon to help with pulling the panel out.

Once decorated, place the left panel facing up in front of you.  Place a strip of adhesive about 1/8 inch away from the right edge of the panel and attach the right edge of the plastic loop to the adhesive.  The plastic will be laying flat on the panel, only attached on the right side.  I've pulled the plastic to the side in the picture below to show where it is attached to the panel, but this plastic will lie flat on the panel and should not go over the edges of the panel.


Once you have put the plastic loop in the correct place, put a bit of adhesive on the top left edge of the adhesive, and line up the second slider panel directly above the first with the decorated side facing up.  Sandwich the plastic in between these two panels so it is connected to the bottom on the right and the top on the left.  


Here is a diagram of what this would look like from the side:


Next, insert the cut panel of the main body of the card into the plastic loop - when you cut the edges of this panel down by half an inch on each side, this created a "tab" that should slide right inside the plastic loop.  When this is inserted, your card will look like this (note that the decorated panels are face down when constructed):


Roll the top of the card down towards you along the score lines to make a box.  Place adhesive on the bottom long edge of the box/card to finish it off.

I stamped a sentiment on the top of the card, but you could nestle layers of paper here or other embellishments.  (Or pick up the wonderful Cinema stamps that would go perfectly with the theme of the card!)  Pull on the tab on the right of the card and both panels will slide out of the card!


Now you have a fun, interactive card to give to friends and family!

Thank you all for stopping by and reading through all of these instructions!  I hope you have a chance to try this card out for yourself.

Now head on over to Annette Dragon's to see what she has to show you this month.  Come back next month when we're making big projects with the Blueprints collection!

August 3, 2014

31 Days of Cards - Day 3


This card is a more colorful variation on yesterday's card.  I used the same stamp and my collection of neon inks to create the main panel.  This was a fun card to make and I used it in another challenge at Club Scrap - Pam's NBUS challenge.  This is such a good challenge to make you dig through your stash and actually use it!  I have a few never-before-used-stuff in my stash that I hope to tackle this year...

August 2, 2014

31 Days of Cards - Day 2


Day 2!  Another simple card, but I really like how this turned out.  I got to play around with my Stampamajig and my Copics, so I'm happy!  Simple and clean.  This card is also based on the sketch for this month's challenge over at Club Scrap. Go check out the sketch and join in on the fun!

August 1, 2014

31 Days of Cards - Day 1


I have been ignoring the crafting/blogging world for far too long this summer, so I challenged myself to make a card for every day in August.  I find that cards are an easy and quick way to get a technique, stamp, or supplies used, and they usually help me jump-start my creativity.

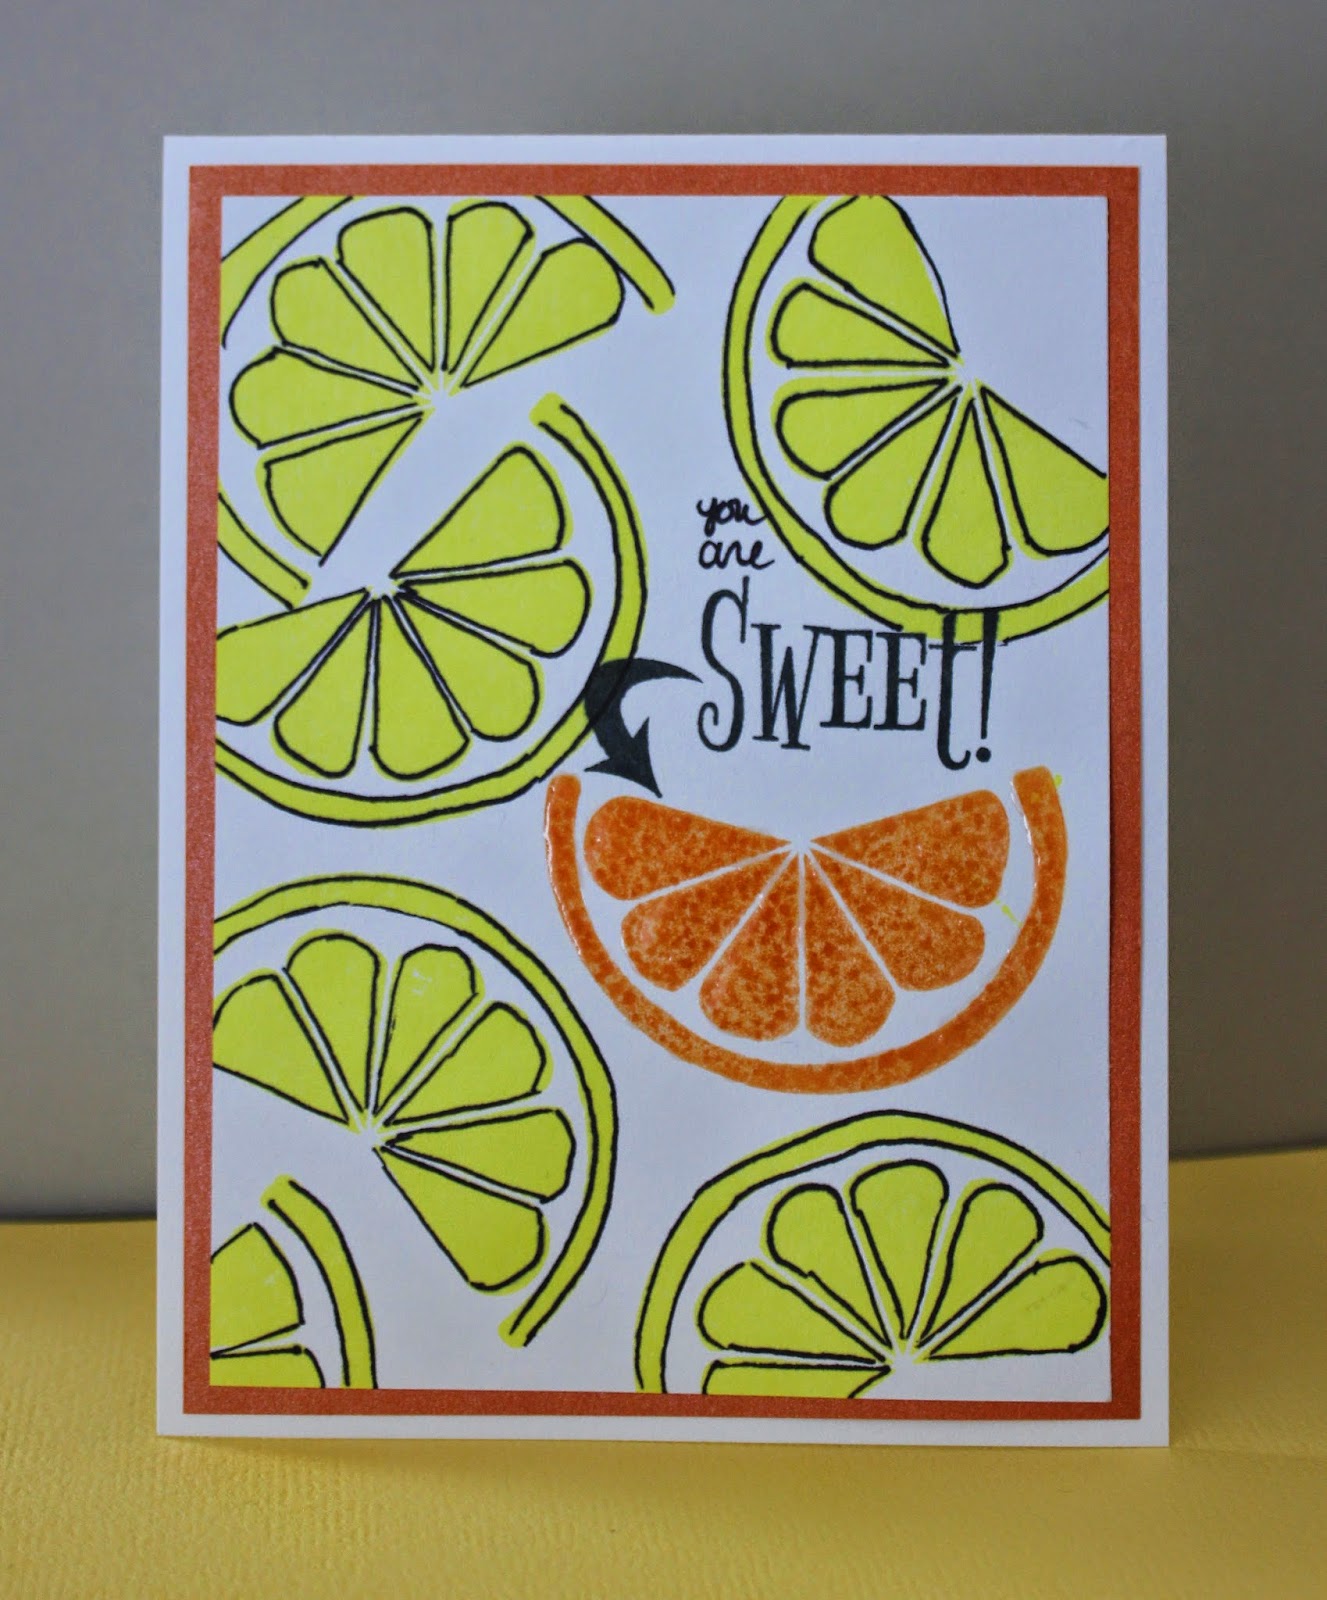
My first card is pretty simple - I stamped the same citrus slice several times in neon yellow and orange ink and outlined the yellow slices with a marker.  It's hard to tell from the picture here, but I covered the orange image in Glossy Accents for some interest.  I stamped the sentiment in black ink and hand-wrote "you are" above it. 

I'm not in love with this card, but it's a start!  One down, thirty to go.  Check back daily for a new card!

09 10